

| FAQ |
| Calendar |

|
|
|||||||


| Lounge Berita atau artikel yang unik, aneh, dan menambah wawasan semuanya ada disini dan bisa dishare disini. |
 |
|
|
|
Thread Tools |
|
#1
 30th May 2010
|
||||
|
||||
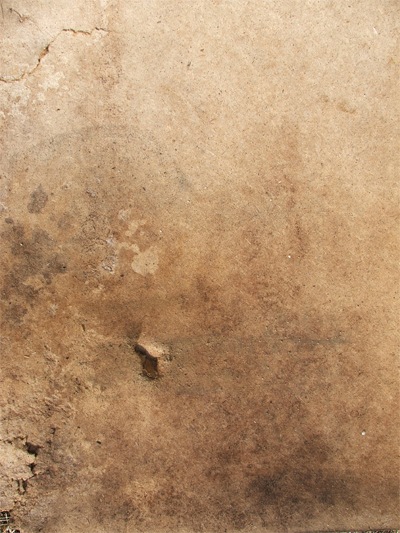
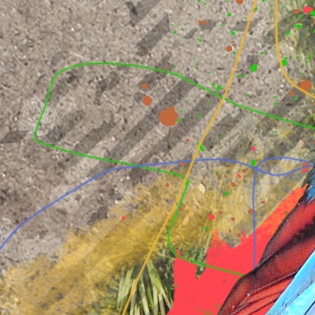
   GAMPANG NDAN BUAT KAYA GITU , NIH SALAH SATU TUTORIALNYA.... open it in Photoshop. Now go Image>Rotate Canvas>90�CW to get it it looking like the image below. Spoiler for 1:
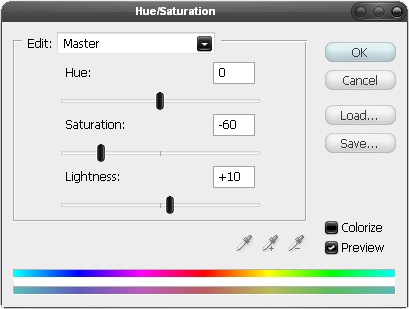
Step 2 IN the layers panel create a new hue/saturation adjustment layer and use the settings shown below, the reason for doing this is that we are going to increase the saturation of the whole image at the end which would make the background to high in saturation so we are lowering the saturation now. Spoiler for 2:
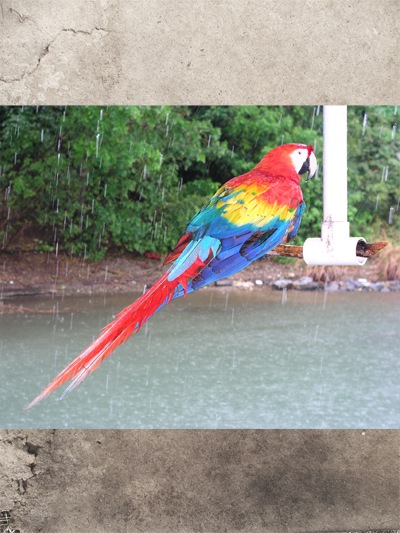
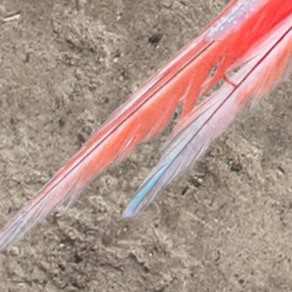
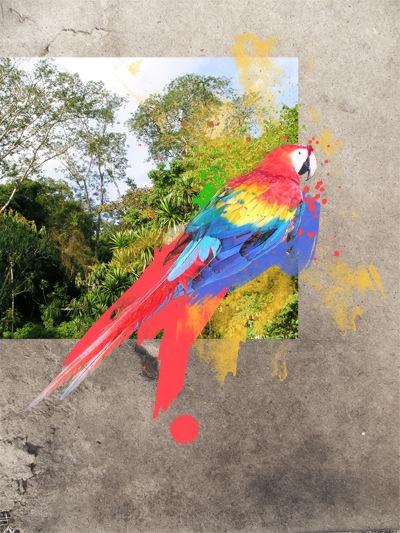
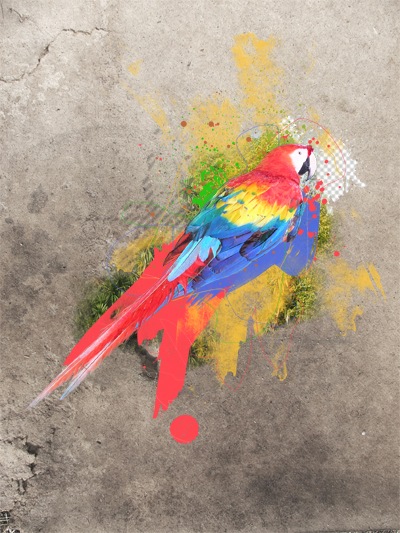
Step 3 We are going to use an image of a parrot; mainly because parrots are colorful but you can use your own image if you want, the one I used can be found here so copy this image into your document then resize it is similar to the image shown below. Spoiler for 3:
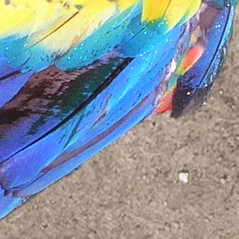
Step 4 Now probably the least enjoyable part of any photo manipulation; the extraction, it's worth get good at it though as you get quick after doing it a lot. So we only want the parrot, not the lake or the the white pole. Unless you've already got a solid way you like to extract images then use the way I'm about to teach you. Select the image of the parrot then click on the layer mask button in the layers panel to add a mask, if your not familiar with masks then basically if you paint black onto a mask then it will hide that part of the layer and the opposite goes for white, at the moment the whole mask is white so everything in the layer is visible. Select black as the foreground color then make sure the mask is selected not the layer. Now select the brush tool and use a round brush with about 80% hardness, start off with a diameter of about 30px although you'll have to change this a lot so do so by using the ] key to increase the diameter and the [ key to decrease. Now you just have to brush round the parrot, you wont need to be too accurate here as we're going for a grungy look anyway, I was pretty neat because I tend to use image that I've extracted multiple times. this was the part that I started on and I had to decrease the brush size to get into the bit next to the red feather. Spoiler for 4:
I lowered the hardness of the brush to 0% for this part as the feathers need to look soft. Spoiler for 4a:
This is what it looked like after cutting the parrot out, well done if you've made it this far it's easy sailing from here on. Spoiler for 4b:
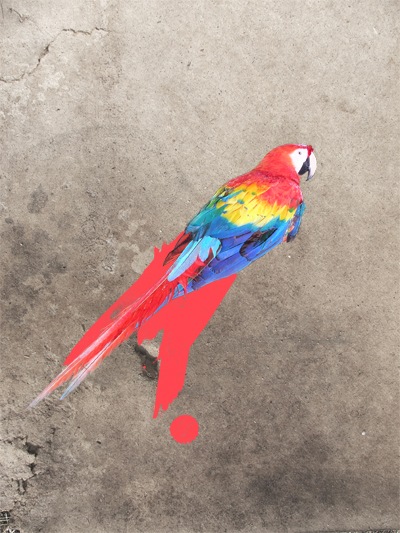
Step 5 We are going to use some watercolor brushes to create the painted effect, watercolor brushes have become really popular recently and the set I tend to use can be found hereso download and install them; you may need to restart Photoshop to get them properly installed. We are going to create all the watercolor effects behind the parrot so create a new layer then move it below the layer with the parrot in it. Select the eyedropper tool then click somewhere on the tail(is that what its called?), this is to get a reddish color that matches the color of the bird. Now select the brush tool and choose one of the watercolor brushes then click once to get the effect shown below. If you want to rotate the brush then go Window>Brushes>Brush Tip Shape and move the arrow in the circle that looks like a compass. Spoiler for 5:
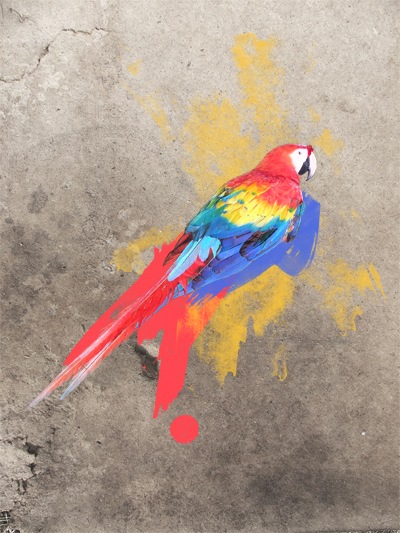
Step 6 Do this again twice using different brushes and use yellow and blue as the colors. You should end up with something similar to the image below. Spoiler for 6:
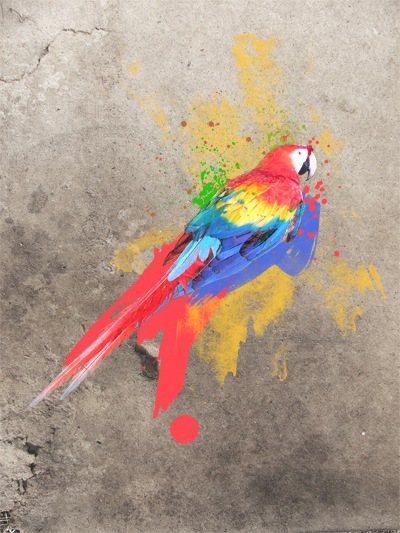
Step 7 I then used some splatter brushes in random colors to add some more detail which you can see below. Feel free to use different brushes but I liked the effect gained from using the splatter brushes. Spoiler for 7:
Step 8 You now need to find an image of a rainforest or a jungle, ideally something with lots of green plants. I tend to get my stock images from SXC so copy an image then paste it into your document and move it behind the watercolor strokes then resize it and position it like so. Spoiler for 8:
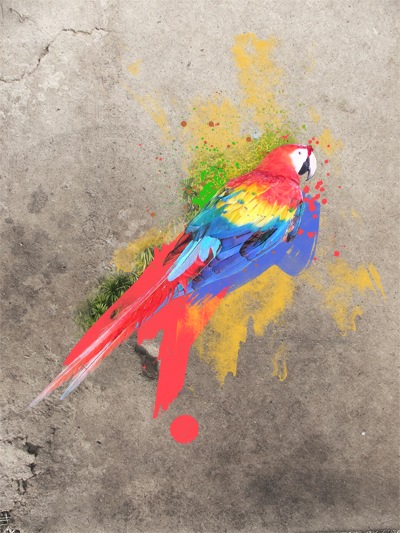
Step 9 Select the layer with your jungle image then hold Alt and click on the layer mask button to, this time, create a black layer mask so this will hide your jungle image. Change the foreground color to white then select the layer mask then the brush tool and using a 0% hardness brush of about 100px diameter brush at parts round the parrot to unhide bits of the plants. In this step I only did the bits around the parrots back Spoiler for 9:
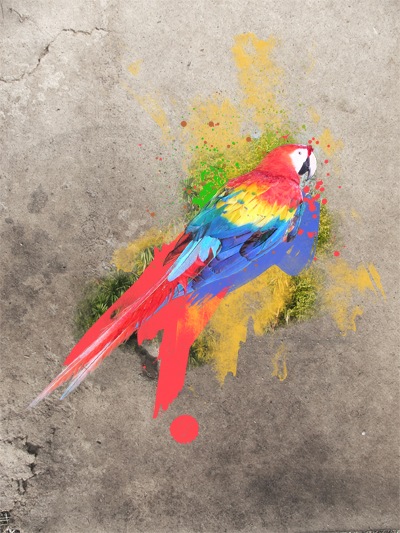
Step 10 I then repeated the last two steps for the parts below the part, you may have done this already in the previous step which is fine. Spoiler for 10:
Step 11 This is an optional step but also an opportunity for you to add some personal touches. You will need some cool patterns, you can download these, use the ones that come with Photoshop or make your own, I've written loads of tutorials which include the creation of patterns, 45� lines, Photoshop's transparent pattern, diamond plating. What I did was to select the pattern stamp tool, chose a pattern and used either a splatter brush or a watercolor brush then brushed onto a new layer below the parrot layer. Spoiler for 11:
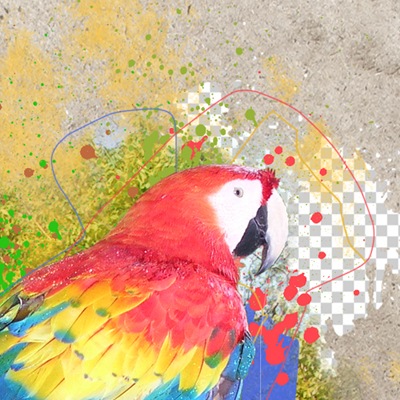
Step 12 Create a new layer directly below the parrot then select the brush tool and choose a 2px hard round brush. Now using a few different bright colors draw some long freehand lines and make the pretty random and go wild. Use about three or four different colors, I've shown a couple of examples below. Spoiler for 12:
KALO MAU 2 GAMBAR YANG LAINNYA KE SINI AJA NDAN.. PIC NO.2. http://www.tutorial9.net/photoshop/d...ith-photoshop/ PIC NO 3. http://photoshoptutorials.ws/photosh...ipulation.html JADI DEH......SELAMAT MENCOBA NDAN...  |
|
#2
30th May 2010
|
||||
|
||||
|
cool.... :rolling on the floo
|
|
#4
30th May 2010
|
|||
|
|||
|
Awkawkakw copas dari kask.us
|
|
#6
31st May 2010
|
||||
|
||||
|
boleh juga nih ndan . . ntar gw coba deh !
|
|
#10
1st June 2010
|
||||
|
||||
|
boleh juga nih ndan tutornya . .
bookmark dulu deh . . ntar mau coba . . |
|
|
|
|


 bhs inggris lama nih ngartiinya
 .................

